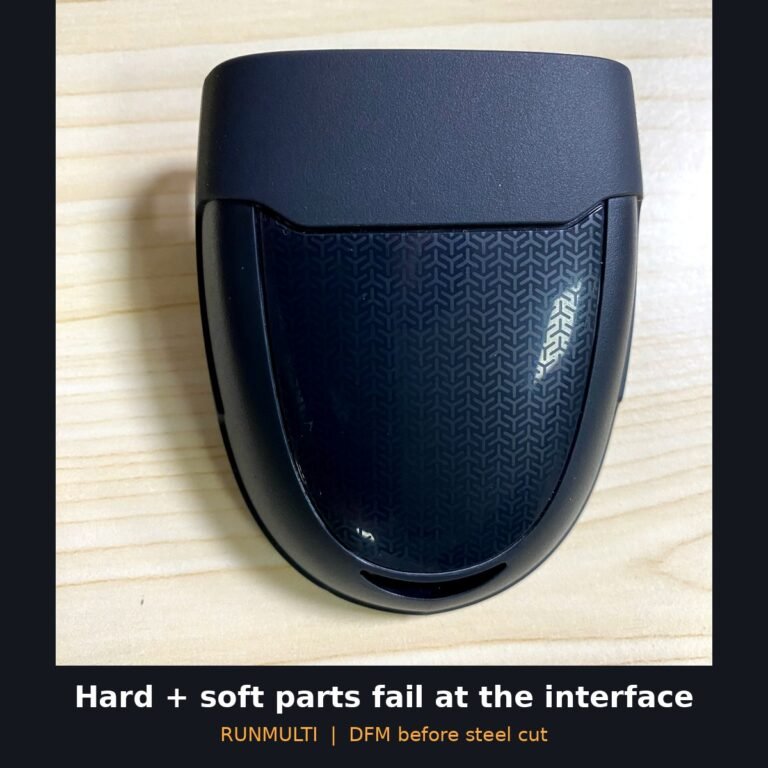
Shut-Off Design in 2K Molds: Where Soft Flash Really Starts
Shut-Off Design in 2K Molds: Where Soft Flash Really Starts
In a normal single-shot mold, a shut-off is steel meeting steel. In a two-shot (2K) or overmold tool, half of that seal is plastic: the second-shot steel closes onto the first-shot substrate, and the substrate itself becomes part of the mold. That one fact explains most soft-flash, peel, and “it ran fine at T1 but flashes at 5,000 shots” problems we see on multi-material projects.
 RUNMULTI illustrative section: second-shot steel biting into a groove on the first-shot substrate, with support underneath. Planning heuristics only, not a quote.
This article is written for EU and US product and sourcing engineers who are buying two-shot molds or overmold tooling and want to review a supplier’s shut-off strategy before steel is cut. The numbers below are published material-supplier guidelines and shop heuristics, not RUNMULTI lab data. Always confirm with your resin grade’s datasheet.
Why 2K shut-offs are harder than steel-to-steel
Three things change when the seal is against plastic:
- The substrate is not a fixed size. It shrinks after the first shot, and how much depends on resin, wall, cooling time, and whether it is still warm (rotary or core-back tool) or fully cooled (transfer or insert overmold).
- The substrate can deflect. Second-shot pressure pushes on a part far softer than steel; unsupported, it bends away from the seal and soft material follows.
- The soft material wants to flash. Low-viscosity TPE and TPU find gaps that rigid resins would bridge.
So a 2K shut-off is really three designs at once: the seal geometry, the substrate support, and the process window between shots.
1. Give the seal a small, planned interference
The most common guideline from TPE material suppliers is a slight interference of the shut-off steel into the plastic substrate. Avient’s overmolding guide cites roughly 0.076–0.127 mm (0.003–0.005 in) for plastic substrates; RTP Company cites 0.05–0.10 mm (0.002–0.004 in), depending on cosmetic needs and substrate ductility.
From the mold side, we treat that as a starting window, not a target number on the drawing. Too little interference, and the substrate shrinks away from the steel and flash appears. Too much, and you crush or whiten the substrate edge, which becomes a visible witness line and a stress point. The right value depends on the substrate’s actual shrink at the moment the second shot fires, which is why we like to leave the shut-off steel-safe (able to remove a little more steel at T1) instead of cutting it to final on the first pass.
2. Use a groove, not a flat land
A soft edge that simply ends on a flat face of the substrate has nothing to grip and nothing to stop it. Supplier guides recommend a shallow groove or step on the substrate along the soft-material edge, typically about 0.38–0.76 mm deep and 0.76–1.0 mm wide, with the second-shot steel shutting off positively inside that groove.
The groove does two jobs. It gives the steel a defined line to seal against, and it tucks the TPE edge below the substrate surface so a fingernail or a cleaning cloth cannot catch it and start a peel. If the TPE edge sits proud of the substrate or runs out to the outer edge of the part, peel is only a matter of time.
3. Support the substrate directly under the seal
This is the item most often missed in quotes. If the first-shot wall under a shut-off line is thin or hollow behind, the second-shot pressure deflects it and flash appears exactly where the support is missing.
What we check in CAD:
- Is there steel directly behind the substrate on the opposite side of every shut-off line?
- Does the substrate have enough wall under the seal to resist injection pressure, or does it need ribs or a local thickening?
- Is the first-shot part located positively (pins, bosses, or features that key into the second-shot cavity) so it cannot shift?
For metal or other non-compressible inserts, interference is not an option. Supplier guides recommend spring-loaded shut-off steel (for example disc springs) so that tolerance variation in the insert does not either flash or crush.
4. Keep shut-offs sharp, hard, and replaceable
A few practical tool-room rules:
- Avoid radiused shut-offs. A rounded seal edge creates a feather-thin wedge of soft material that flashes and peels. Keep the transition sharp.
- Harden the shut-off steel. RTP Company suggests a minimum of about 54 HRC for shut-off steel. Soft steel wears, and worn shut-offs flash.
- Build shut-offs as inserts, not directly into the mold base, so they can be replaced or re-fitted during maintenance.
- Mind the angle. Near-vertical sliding shut-offs wear fastest; a widely cited heuristic is 5° or more where geometry allows, with parting-line locks to protect anything steeper.
5. Vent and gate so they do not fight the seal
The soft-material cavity must be vented, or you will see short shots and burns at the end of fill. But a vent placed directly at the shut-off edge encourages flash. Put vents at the true end of fill, away from the bond line, and keep them shallow for TPE; one TPE supplier design guide cites a maximum of about 0.025 mm (0.001 in).
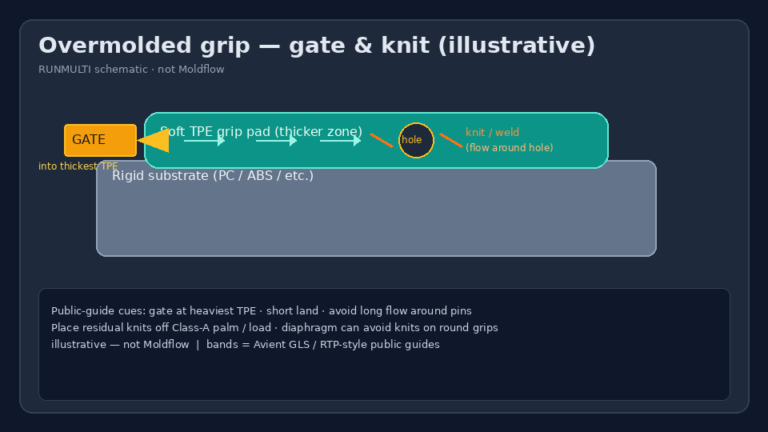
The second-shot gate should push material along the shut-off, not straight into it. A gate that jets at the seal drives soft material into the gap before the cavity packs and lifts the edge exactly where it later peels. We decide gate and shut-off together in DFM, because moving one later means re-cutting the other.
Quick 2K shut-off checklist
| Check | What good looks like |
|---|---|
| Interference into substrate | Planned starting value, left steel-safe for T1 tuning |
| Seal geometry | Groove or step, sharp transition, soft edge below substrate surface |
| Substrate support | Steel behind every shut-off line; positive location |
| Metal inserts | Spring-loaded shut-off steel |
| Steel | Hardened shut-off inserts, replaceable |
| Venting | End of fill, not at the seal; shallow for TPE |
| Gate | Flows along the seal, not into it |
How RUNMULTI reviews 2K shut-offs
RUNMULTI (Xiamen RUNMULTI Co., Ltd) designs and builds multi-material molds, with shut-off and bond strategy reviewed in Creo and Siemens NX before steel is cut, backed by 20+ years of mold engineering. We would rather flag a missing support rib in CAD than chase soft flash through T2.
Next step: a 2K / Overmold DFM review
If you are about to release a two-shot or overmold part for quotation, order an Independent DFM Review first. Tiers: Quick Check $195 · Standard $595 · 2K / Overmold Pro from $1,250. The Pro review covers shut-off lines, substrate support, gate and vent placement, and material pairing. The review fee is credited toward your mold order if you place the tool order within 10 business weeks of review delivery, and the report is yours to take to any supplier.
Or contact us with STEP files for both shots, the resin pair, and your annual volume.
RUNMULTI — Xiamen, China. Custom injection molds, two-shot (2K) molding, and overmolding for EU & US brands.